Earlier in the trimester we shot 4K footage on the FS7 of a perfume bottle in the void. We then had to replace the label on the bottle and do a colour grade on it as well. For the blog post, I’ll be going through step by step of my processes.
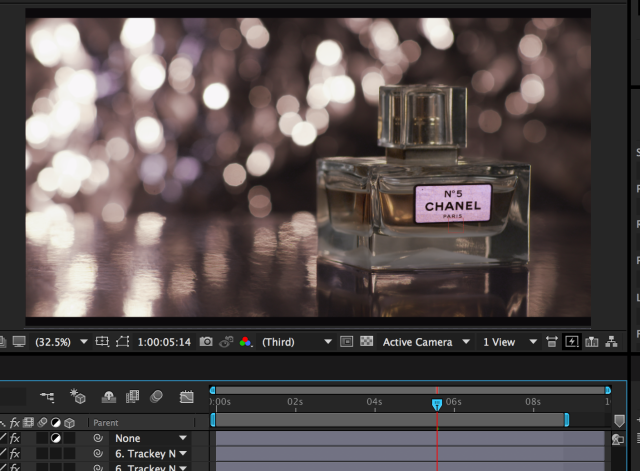
First, we have our raw footage in a composition in Adobe After Effects. In order for us to replace the label, we need to put a tracker onto the original label that the new label can stick on to. Fortunately, the uni computers have AE Mocha that do an easy job of this. So transferring the footage to Mocha, we placed a tracker on it, and after a few times I got it right and we were ready to go back to After Effects!
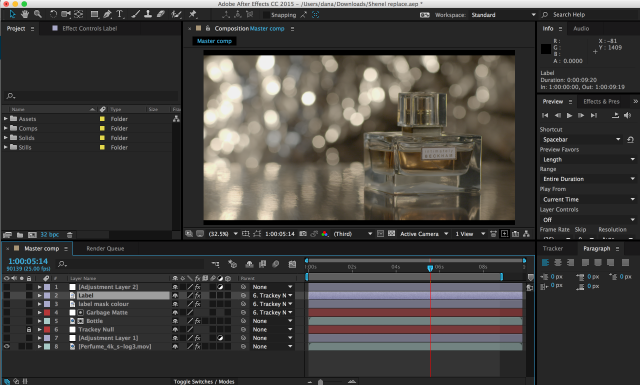
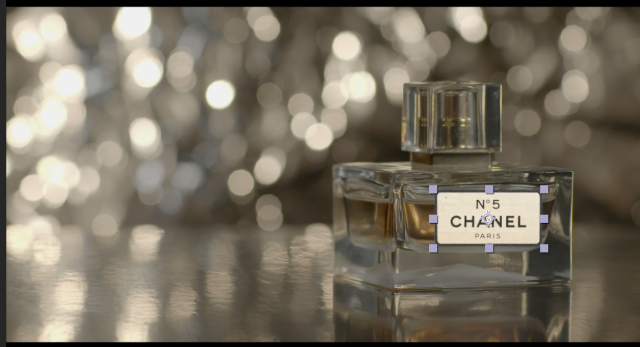
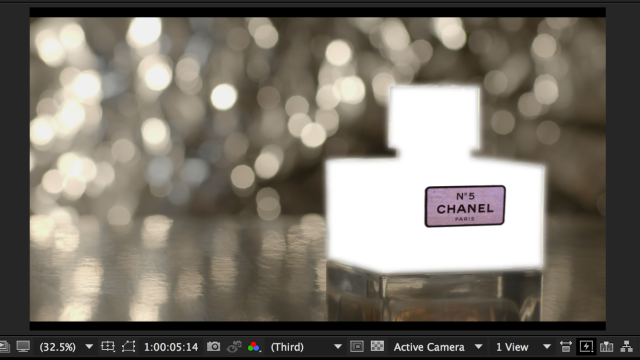
Then came the fun part of adding the new ‘Chanel’ label onto the existing perfume bottle by creating a node to attach it too. It took me a fair few attempts to get this right as i’m quite the amateur when it comes to anything post production, so eventually I got the new label onto the bottle, resized and placed.
Alex wanted us to colour correct the perfume bottle separately than the background, which turned out to be the better way to go anyway. SO we put a garbage matte over the perfume bottle to isolate it, which will let us colour it differently. I had a lot of difficulty getting this perfect, but after a fair few hours of trying (and crying) to get the keyframes perfect, I finally did it!
So after this, I got into colour correcting the bottle, label (already pictured) and background. To do this, I fiddled with curves, hues & saturations and added colour lut’s (I used the 3rd one) that Alex provided us with.
So here’s a before and after comparison:

So there you have it… they are the basic steps I went through in order to create the colour grade/ compositing exercise!
- Dana
